Picking up from the previous post, the brown SL-100 frames were more or less completed. At some point, I had also put the cable trough back on top of the DPCX cabinet. Next up was to finish leveling and reassembling the other frames.
I had found a couple air vent grates for the bottom of the SL-100 frames, so I reinstalled those on the TME and DTEI (the LCE and the LGE already had theirs).
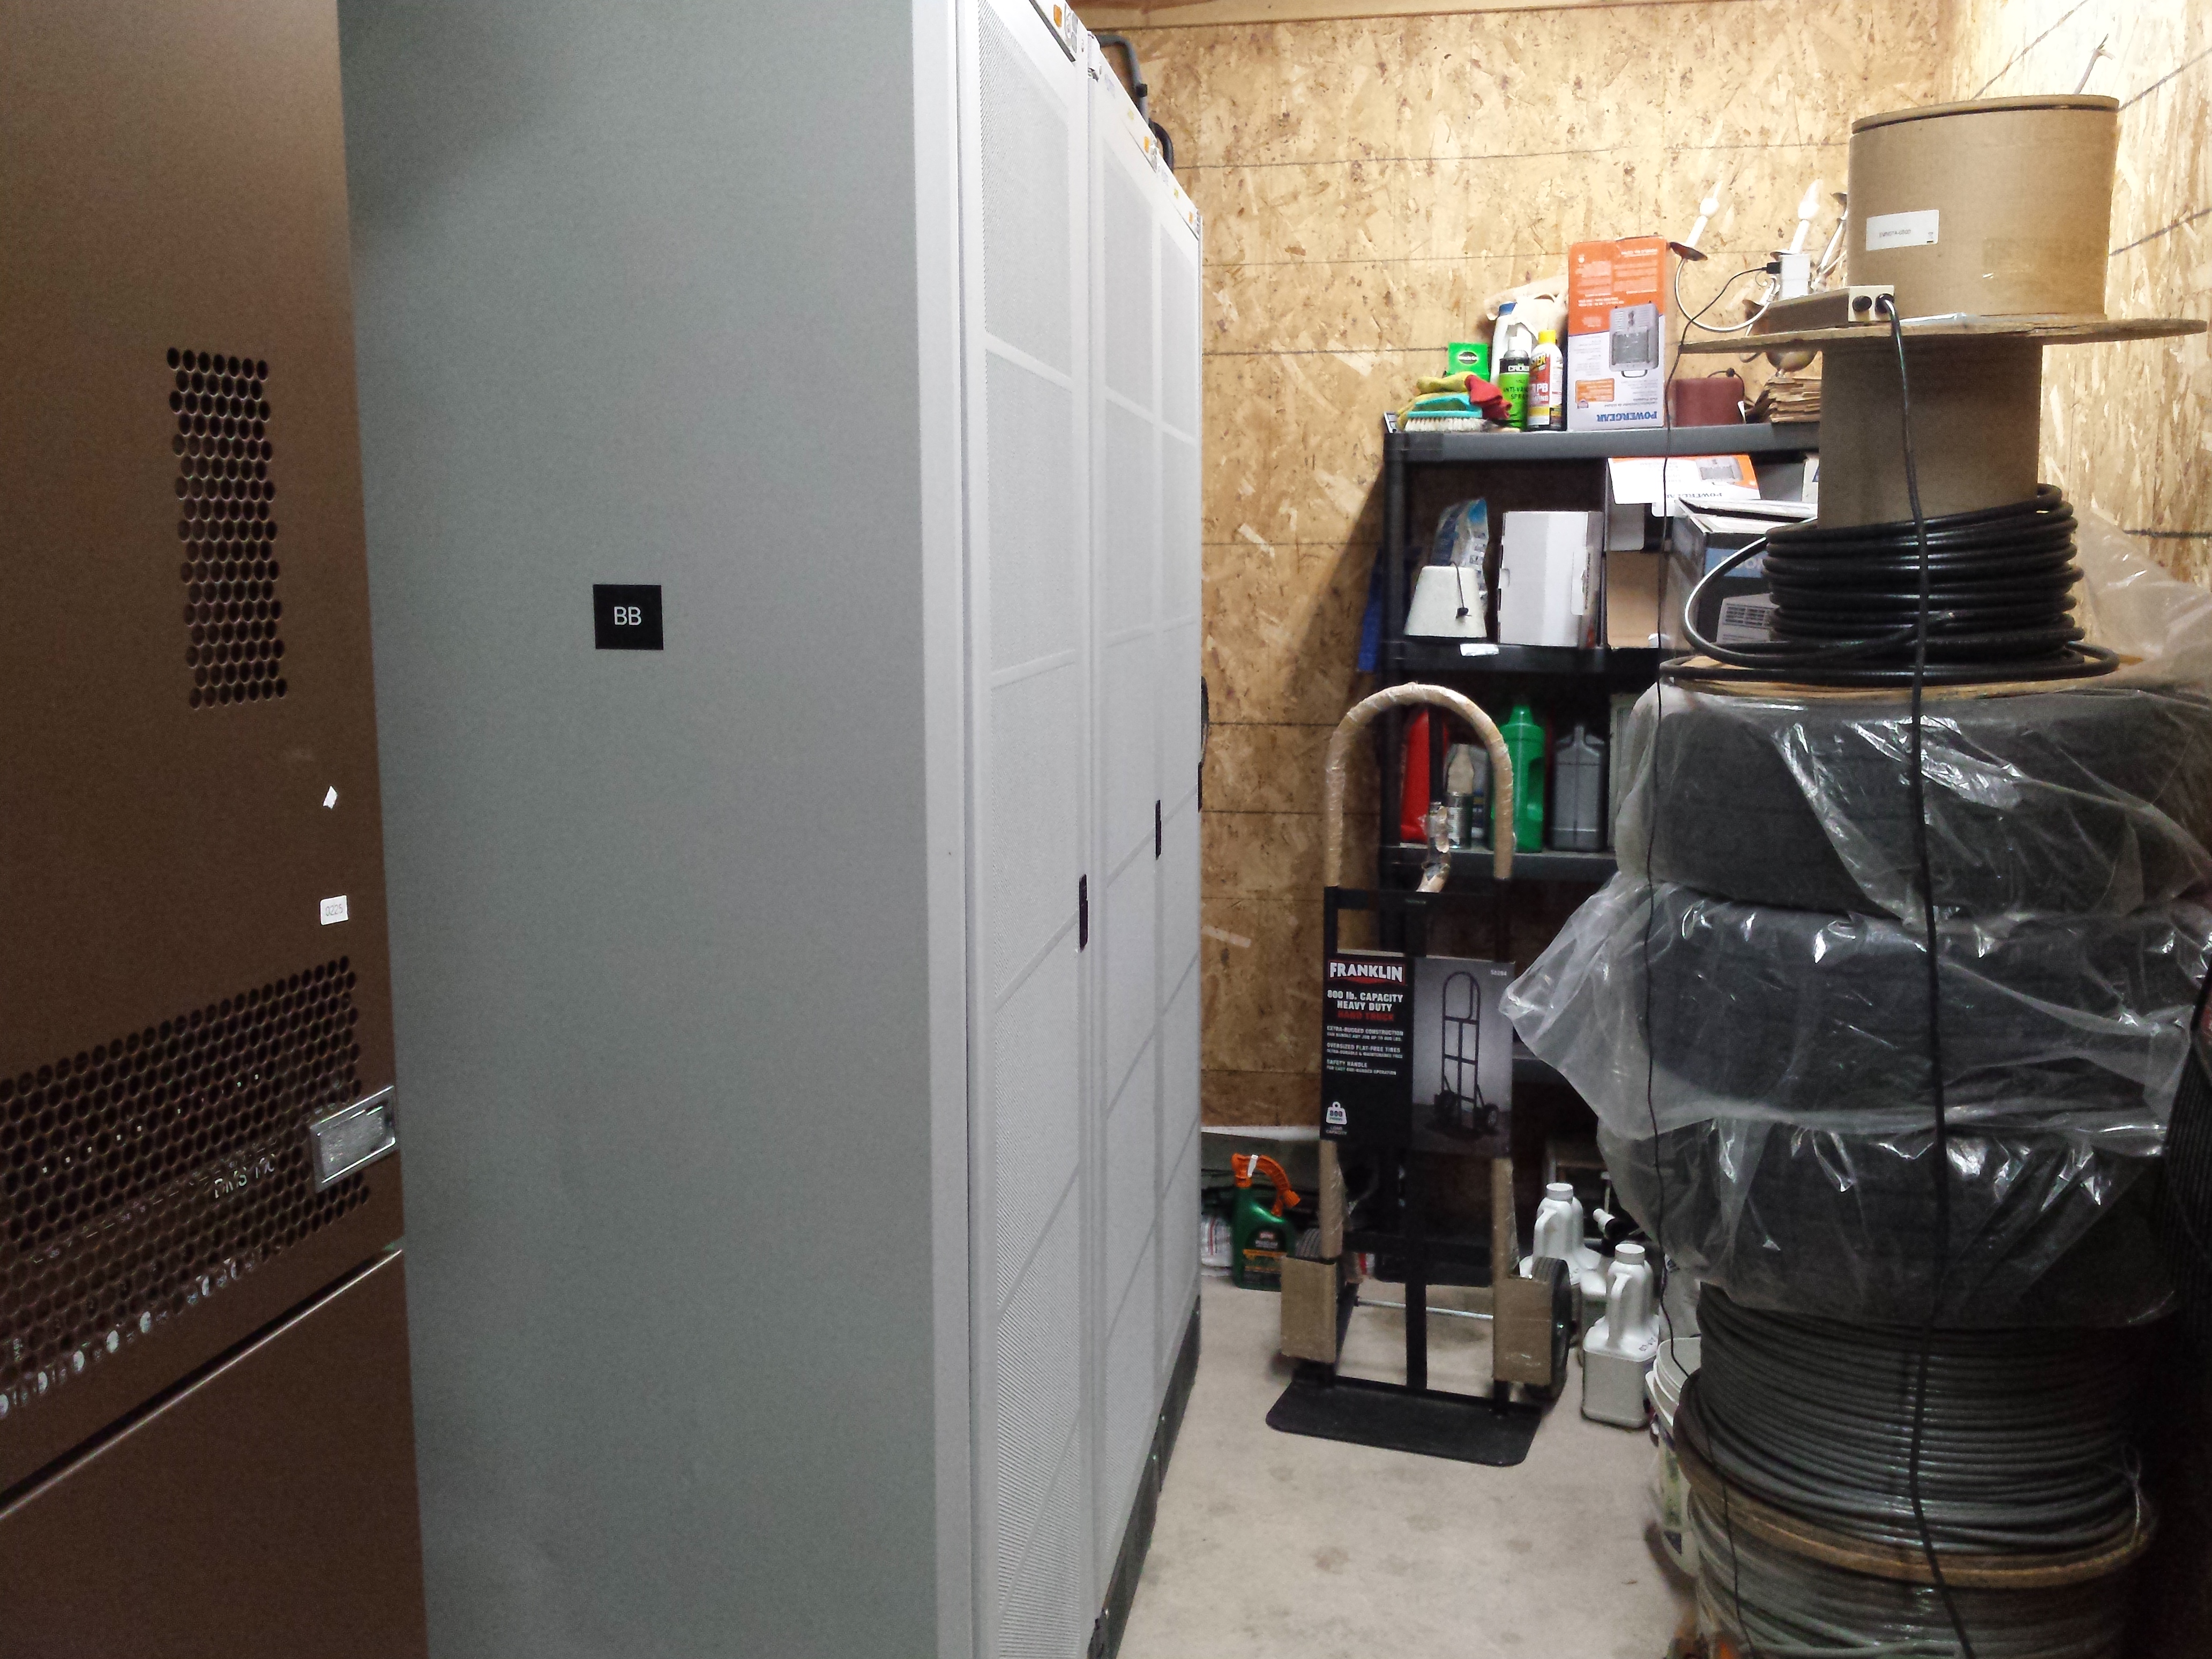
Then I set to work on clearing the cables off the top of the MCNI so I could put the cable trough back on top. The MCNI cable trough has some specific features to keep the fiber optic cabling protected, so I made sure to arrange the old power cabling and the plastic fiber for the SPME the right way. Once it was all in place, I bolted down the cable trough for the MCNI and the DPCX.
Then I started on the CS2100 cabinets (PT2K, COAM, CSF). The end side panel on the PT2K had been damaged when we tried to move it the first time, so I removed the sheet metal to straighten it as best as I could. Afterwards, I did my best to straighten the various brackets on that side of the cabinet as well, since they had also been bent during the same event.
I then worked on getting the CSF and the COAM into position and roughly leveled to eachother. Afterwards, I reinstalled the various bracketry for the door hinges and latches. I then did the same on the PT2K.
Originally the PT2K and the COAM cabinets were joined together by some brackets near the top of the cabinets. I bolted those to the COAM cabinet and aligned the PT2K to them as best as I could before bolting them together. I had to bend the brackets somewhat because the white outside trim piece would not align with it's mounting hole. I also reattached the various door and trim brackets to the PT2K.
Once the cabinets were mostly back together, I put the rear doors, the COAM front door, and all of the trim pieces on. I waited to install the CSF and PT2K doors since I had equipment to re-rack. Also, it was around this time that I noted I needed a plastic bushing for each door, but I could only find three for the five doors. Eventually I found a fourth, but the fifth is still missing. The PT2K never had a rear door, and once I find or make the last bushing I will use that to correct the front door which is currently sitting at the wrong height.
With the cabinets reassembled, it was time to rerack the SAM21 and ERS8600 shelves. As these are quite large and heavy, and I am one person, I decided to at least remove the power supplies from the SAM21 compactPCI chassis. I ended up needing to remove everything that came off of the ERS8600 units. I spent a couple minutes debating the best way to heft the second ERS8600 into the upper part of the rack before I did it. As I got things bolted into the racks, I reinserted cards and power supplies, and ensured cables were routed in a sane manner short of actually wiring them.
The timelapse video is downloadable here: 1032x774 4128x3096
All progress to date is here: 1032x774 4128x3096
The timelapses have been speed up 80x. That is, one second of video corresponds to 80 seconds of real time. The 4 minutes that pass in this timelapse correspond to about 320 minutes or a nearly 5.5 hours of actual footage. The timelapse was filmed over the course of approximately a couple afternoons and nights.